
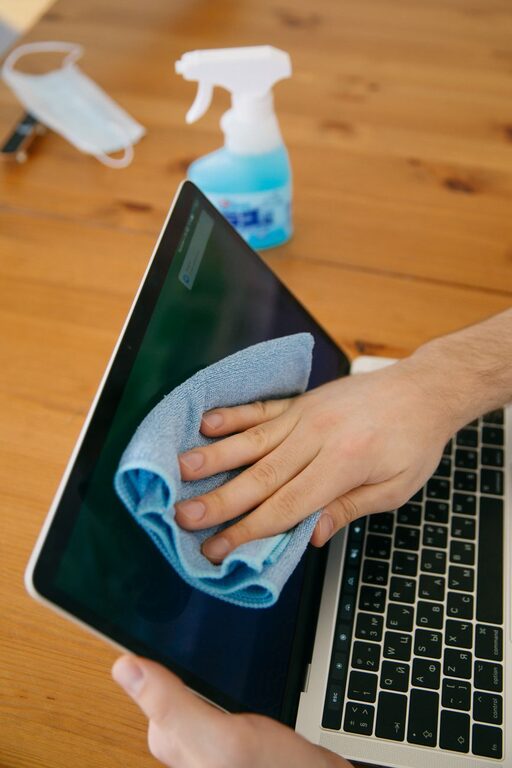
How to Clean Your Phone and Keyboard Safely
Keeping your phone and keyboard clean can improve their appearance, reduce buildup, and help your devices work as expected. However, electronics do not respond well to excess moisture, harsh cleaners, or rough handling.
The safest approach is simple: turn devices off, use small amounts of suitable cleaning products, and keep liquid away from openings. Always check the manufacturer’s instructions before cleaning, especially if your device has a special screen coating, water-resistance rating, or unusual materials.
What You Need Before You Start
Gather your supplies before cleaning so you do not need to move a wet device or search for tools midway through the process.
You may need:
– A clean, soft microfiber cloth
– A second dry microfiber cloth
– A small, soft brush
– Compressed air for a keyboard
– A small amount of water
– Isopropyl alcohol, when approved by the manufacturer
– Cotton swabs for hard-to-reach areas
– A clean, dry work surface
Avoid paper towels, tissues, abrasive sponges, and rough cloths. These can leave fibers behind or create fine scratches on glossy surfaces. Do not use bleach, window cleaner, acetone, ammonia, or household sprays unless the device manufacturer specifically recommends them.
General Safety Rules
Before cleaning any electronic device, follow these basic steps:
- Disconnect chargers, cables, headphones, and other accessories.
- Turn the device off completely.
- Remove cases, keyboard covers, and detachable accessories.
- Wash and dry your hands to avoid adding more oils and dirt.
- Clean on a stable, dry surface.
- Apply liquid to a cloth, never directly to the device.
- Keep moisture away from ports, speakers, vents, keys, and seams.
- Let the device dry fully before turning it on again.
A device that is labeled water-resistant is not necessarily safe to rinse or soak. Water resistance can weaken over time, and liquid damage may not be covered by a warranty.
How to Clean Your Phone Safely
1. Remove the case
Take off the phone case before cleaning the phone itself. Dust and grit can collect between the case and the phone, where they may rub against the device.
Clean the case separately according to its material. Many plastic and silicone cases can be wiped with a slightly damp cloth and mild soap. Do not put the case back on until it is completely dry.
If the case contains leather, fabric, wood, or decorative parts, follow the care instructions for that material. Some cases should only be wiped with a dry or lightly damp cloth.
2. Wipe the screen and body
Use a dry microfiber cloth to remove loose dust and fingerprints. Move gently in small circles or straight strokes. Avoid pressing hard, especially around the screen edges.
For stubborn marks, lightly dampen part of the cloth with water. The cloth should feel barely damp, not wet. Wipe the screen and outer surfaces, then use a dry section of the cloth to remove remaining moisture.
Some manufacturers allow a cloth lightly dampened with 70 percent isopropyl alcohol for exterior surfaces. Others recommend only water or a specific cleaning solution. Check the instructions for your phone before using alcohol, particularly if the phone has a special protective coating.
Never spray cleaner directly onto the screen. Liquid can seep into openings around buttons, speakers, cameras, and the charging port.
3. Clean the camera lenses
Camera lenses can collect fingerprints that make photos look hazy. Use a clean, dry microfiber cloth and wipe the lens gently.
Do not use rough materials or press strongly against the camera glass. If a mark remains, use the smallest possible amount of approved cleaning solution on the cloth, not on the lens itself.
4. Clean ports and openings carefully
Dust may collect in the charging port or speaker openings. Hold the phone with the opening facing downward and use a soft, dry brush to loosen visible debris.
Avoid pushing dirt farther inside with pins, paper clips, toothpicks, or other sharp objects. These can damage delicate contacts. Compressed air can also be risky if used too closely or at high pressure, so follow the can’s instructions and use short bursts from a safe distance if the manufacturer permits it.
If debris is packed tightly inside a port, consider having it cleaned by a qualified repair professional instead of forcing it out.
How to Clean a Keyboard Safely
The cleaning method depends on whether you use a desktop keyboard, a laptop keyboard, or a mechanical keyboard. Laptop keyboards require extra care because the keys and internal components are close together.
1. Disconnect or shut down the keyboard
Unplug a wired keyboard. For a wireless model, switch it off and remove the batteries if possible. Shut down a laptop completely and disconnect its charger.
Do not clean a keyboard while it is powered on. A damp cloth or loose debris can cause problems if it reaches electrical contacts.
2. Remove loose debris
Turn a standalone keyboard upside down and gently shake it over a clear surface. Do not hit or bend the keyboard.
Use short bursts of compressed air to loosen crumbs and dust. Hold the keyboard at an angle and direct the air across the gaps rather than straight down into them. This helps move debris outward instead of pushing it deeper.
Do not tilt a compressed-air can while spraying, and stop if the can becomes cold or begins releasing liquid. Follow the product instructions carefully.
For a laptop, keep the device open at a comfortable angle and use gentle bursts of air. Avoid placing the laptop face down, as this can put pressure on the screen and hinges.
3. Wipe the keys and palm rest
Use a dry microfiber cloth to wipe the keys, keyboard frame, and palm rest. For sticky marks, lightly dampen one corner of the cloth with water or an approved cleaner.
The cloth should never be wet enough to drip. Wipe each area gently, then dry it with a separate part of the cloth.
For small gaps around keys, use a dry, soft brush or a cotton swab that is only slightly damp. Do not allow fibers or moisture to collect beneath the keys.
4. Be cautious with removable keycaps
Some mechanical keyboards have removable keycaps, but not every keyboard does. Laptop keys and many thin keyboards can be damaged if you try to pry them off.
If your keyboard manufacturer says the keycaps are removable, take a photo of the layout first. Remove them with the recommended tool, wash them only if the instructions allow it, and let them dry completely before reinstalling them.
Never reconnect or power on a keyboard while any part of it is damp.
What to Do After Cleaning
Allow the phone or keyboard to air-dry completely. A few minutes may be enough for a lightly wiped surface, but areas near openings should receive extra attention.
Do not use a hair dryer, heater, or heat gun. High temperatures can damage screens, batteries, adhesives, and plastic parts. Do not place electronics in rice, which can leave dust and particles behind.
Once the device is dry, reconnect it and check that the screen, buttons, camera, charging port, and keyboard keys work normally.
How Often Should You Clean?
A quick dry wipe once or twice a week can prevent fingerprints and dust from building up. Clean more thoroughly when you notice visible grime, sticky keys, or debris around openings.
Keep food and drinks away from keyboards, and store your phone in a clean pocket or bag compartment. Regular light cleaning is safer and easier than trying to remove a large amount of buildup later.
When in doubt, use less moisture, less pressure, and a gentler tool. The device’s care instructions should always take priority over general cleaning advice.
